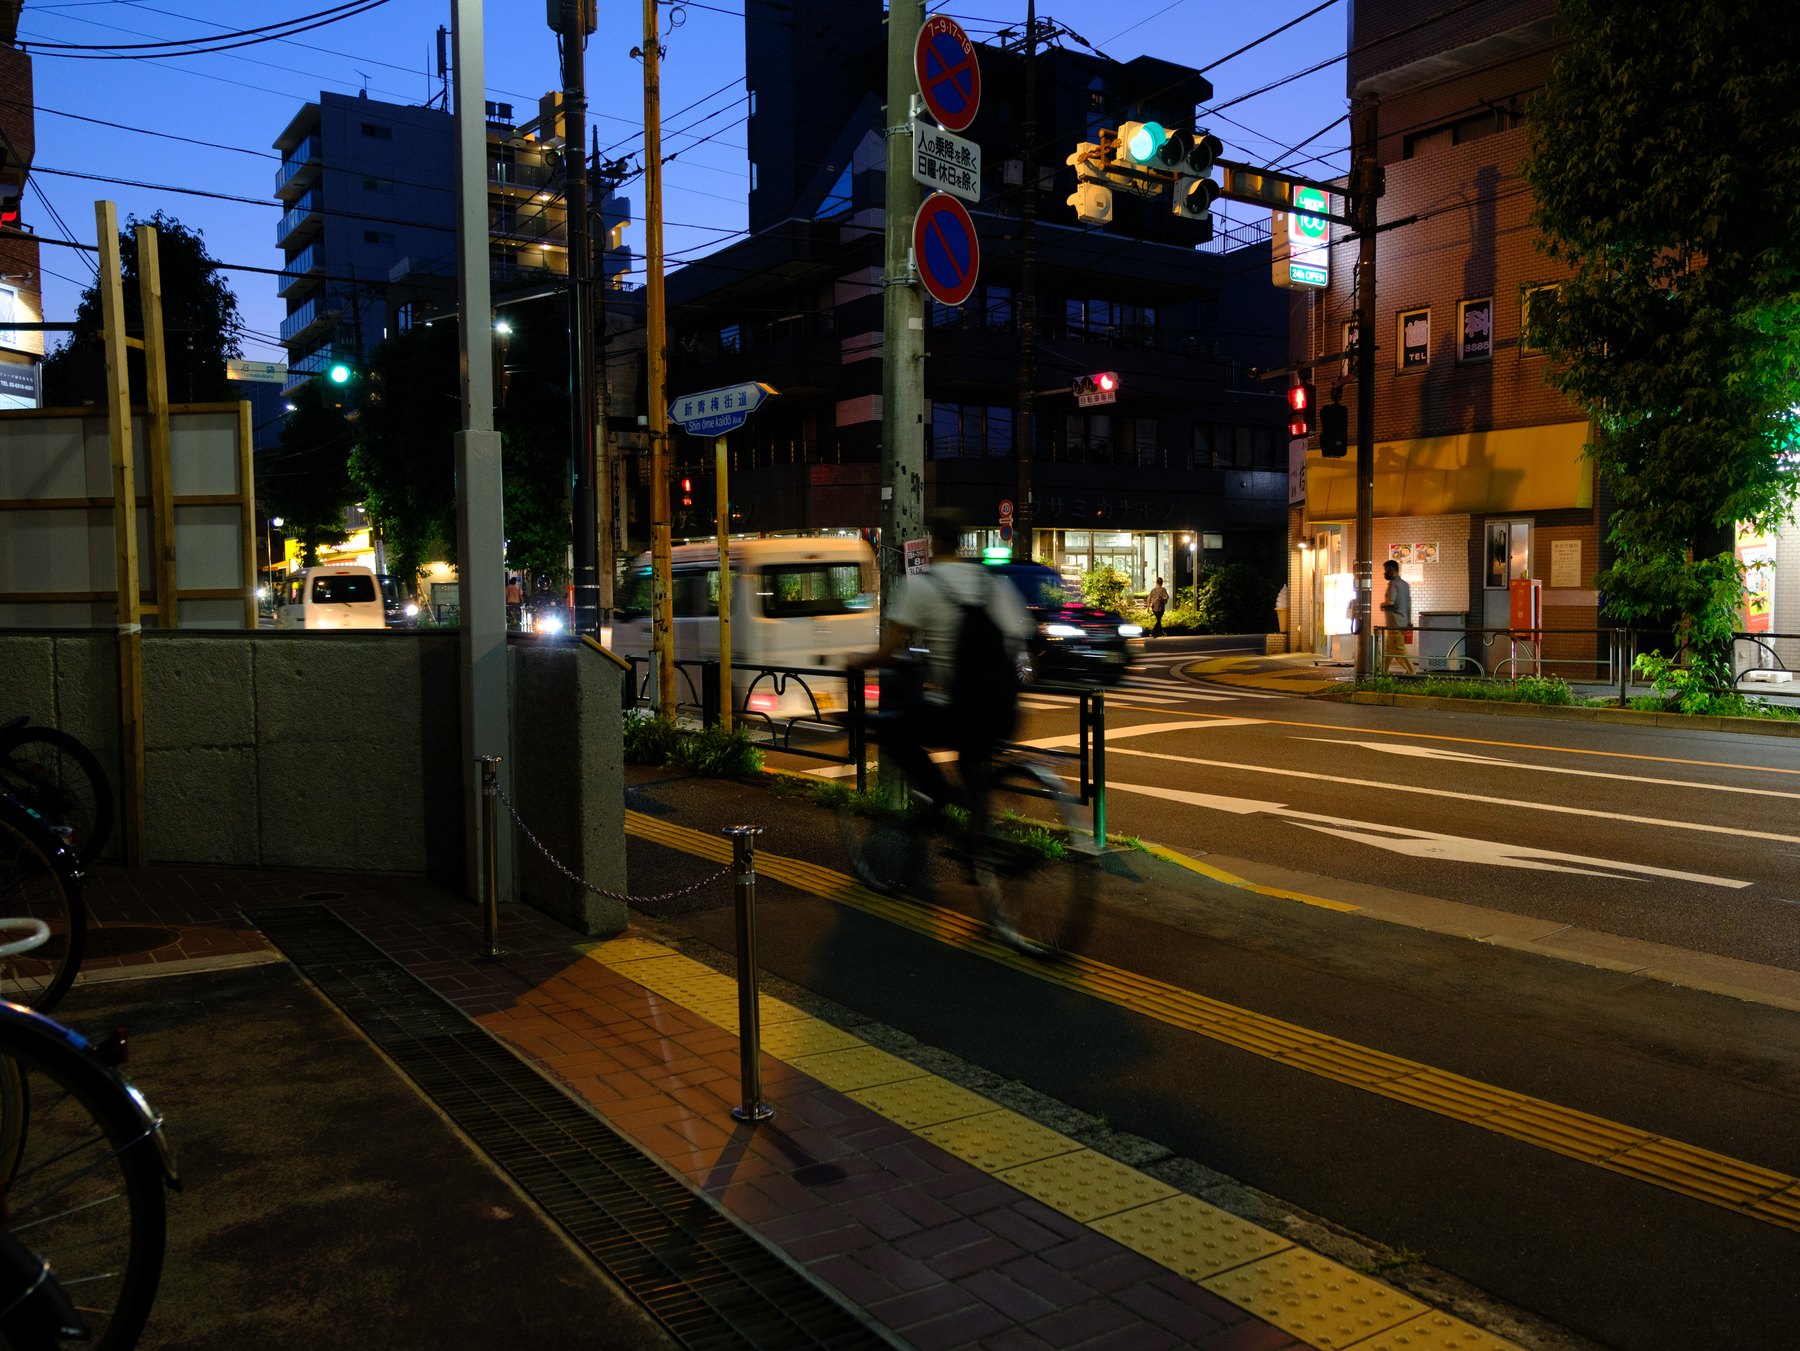
Color grading cannot rescue an exposure decision that is still moving. When a night photograph feels muddy, too orange, or aggressively blue, the temptation is to reach for Color Grading or HSL immediately. A more reliable sequence is to stabilize the photograph first.
Try the starting look freeEveryday Soft XMP + Tokyo shooting checklist
1. Set the subject exposure
Adjust Exposure for the subject you want the viewer to notice. Let the street remain dark if darkness belongs to the scene. Pull Highlights down only when important signs or lamps lose color; do not flatten every bright source into the same value.
Check faces and moving subjects at full size. Lifting a severely underexposed frame can reveal noise, but a clean histogram is not more important than the mood of the photograph.
2. Correct white balance before creating a palette
Find one familiar reference: skin, gray pavement, a white shirt, or a concrete wall. Move Temperature until that reference feels believable, then use Tint for a smaller green–magenta correction. Mixed light does not need to become neutral everywhere.
Fujifilm RAW files preserve room to make this decision later. Keep the warm storefront and cool ambient light if their relationship explains the scene.
3. Shape contrast with the light already present
Use the basic tone controls before adding stylized color. Lowering Highlights can recover sign detail; opening Shadows can reveal a person without raising the whole street. Set the black point carefully—deep blacks add structure, while lifted blacks create softness but can also make night photographs feel gray.
4. Build one warm–cool relationship
In the Color Grading panel, start with a restrained move: slightly warm highlights and slightly cool shadows, or the reverse if the scene asks for it. Keep saturation low and judge the image at normal viewing size. HSL is better reserved for a specific problem such as overpowering orange light or electric green foliage.
A useful grade strengthens a relationship already visible in the photograph. It should not paste the same teal-and-orange recipe over every street.
5. Finish locally
Use one mask to guide attention: lift a face, soften a bright background, or hold detail in a sign. Local corrections keep the global grade coherent. If every frame needs several large global changes, return to exposure, white balance, or the chosen starting look.
The repeatable order
- Subject exposure
- White balance
- Tone and black point
- One color relationship
- One local finish
Use that order on a sequence and your photographs can share a visual language without becoming identical. For the capture side of the workflow, continue with the guide to Fujifilm night photography settings.