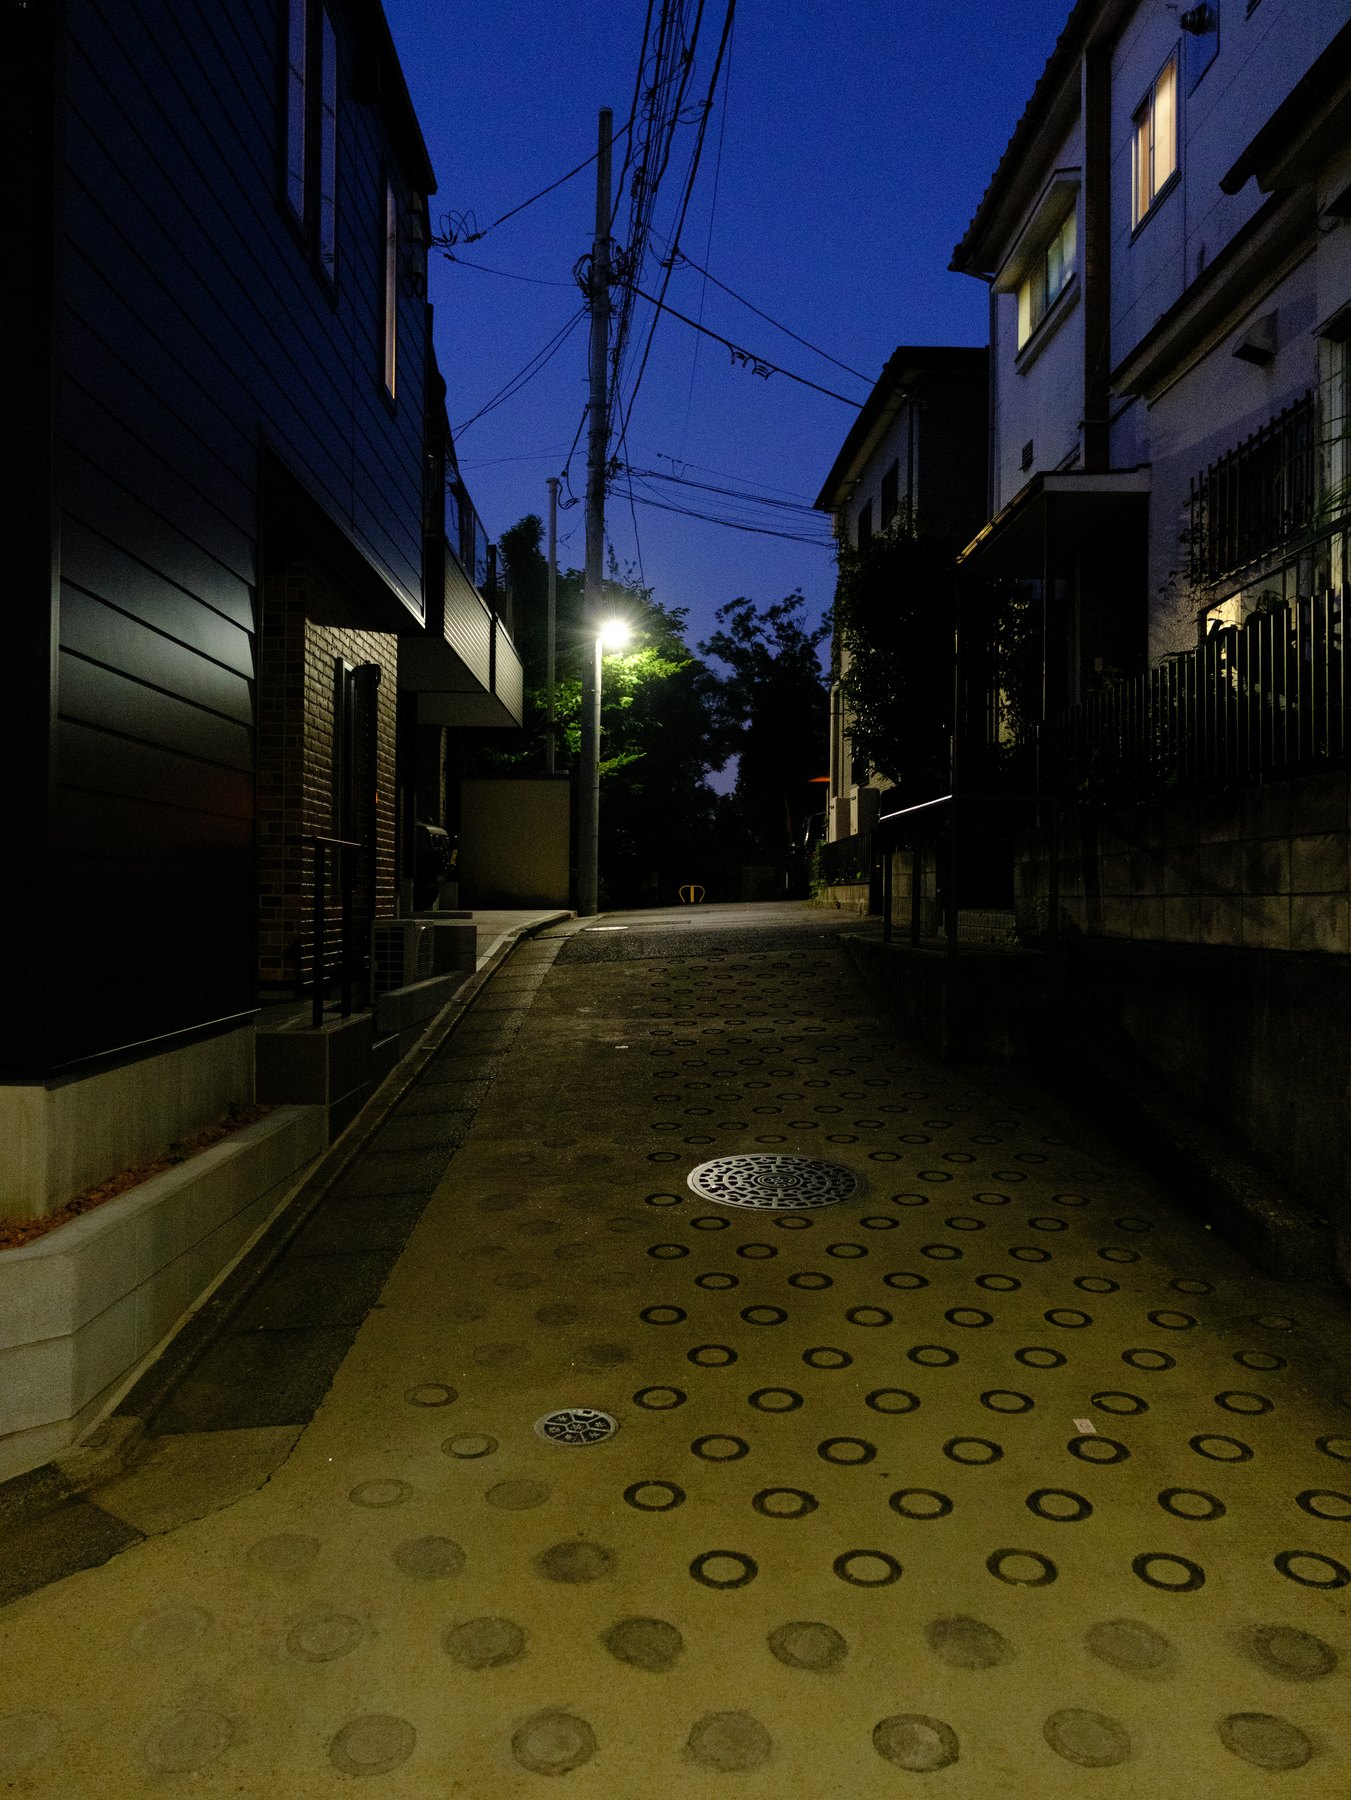
Arrive before sunset and stay after the obvious color peak. The most useful moment depends on the direction of the street, cloud cover, and how quickly artificial lights become visible.
Blue hour rewards a small working area. Moving between distant locations usually costs the transition you came to photograph.
Expose for the relationship, not the sky alone
Set exposure for the person or street surface that carries the frame, then watch important sign and window color. A bright sky with an empty foreground is not automatically a successful blue-hour exposure.
Slight negative exposure compensation can protect lamps, but lowering the entire image too far creates noisy subjects and weak midtones.
Use a shutter speed for street movement
Begin around 1/125 for pedestrians and move to 1/250 for faster gestures. For quiet storefronts, 1/60 may keep ISO lower. Stabilization helps the camera, not the moving subject.
Aperture Priority with Auto ISO is responsive as light changes minute by minute. Keep checking the actual shutter speed selected by the camera.
Preserve blue without making everything blue
Auto White Balance is a useful start. In RAW processing, correct familiar surfaces and warm interiors while allowing the ambient sky and shadows to remain cool.
Avoid pushing global saturation. The visual strength comes from the relationship between a restrained blue environment and small warm sources.
Edit the transition as a sequence
Select frames from before, during, and after the balance point. Match exposure and white balance by visual continuity rather than identical values.
A look such as Evening Glow can establish cooler shadows and protected warm light, but each frame still needs its own exposure and white-balance decision.