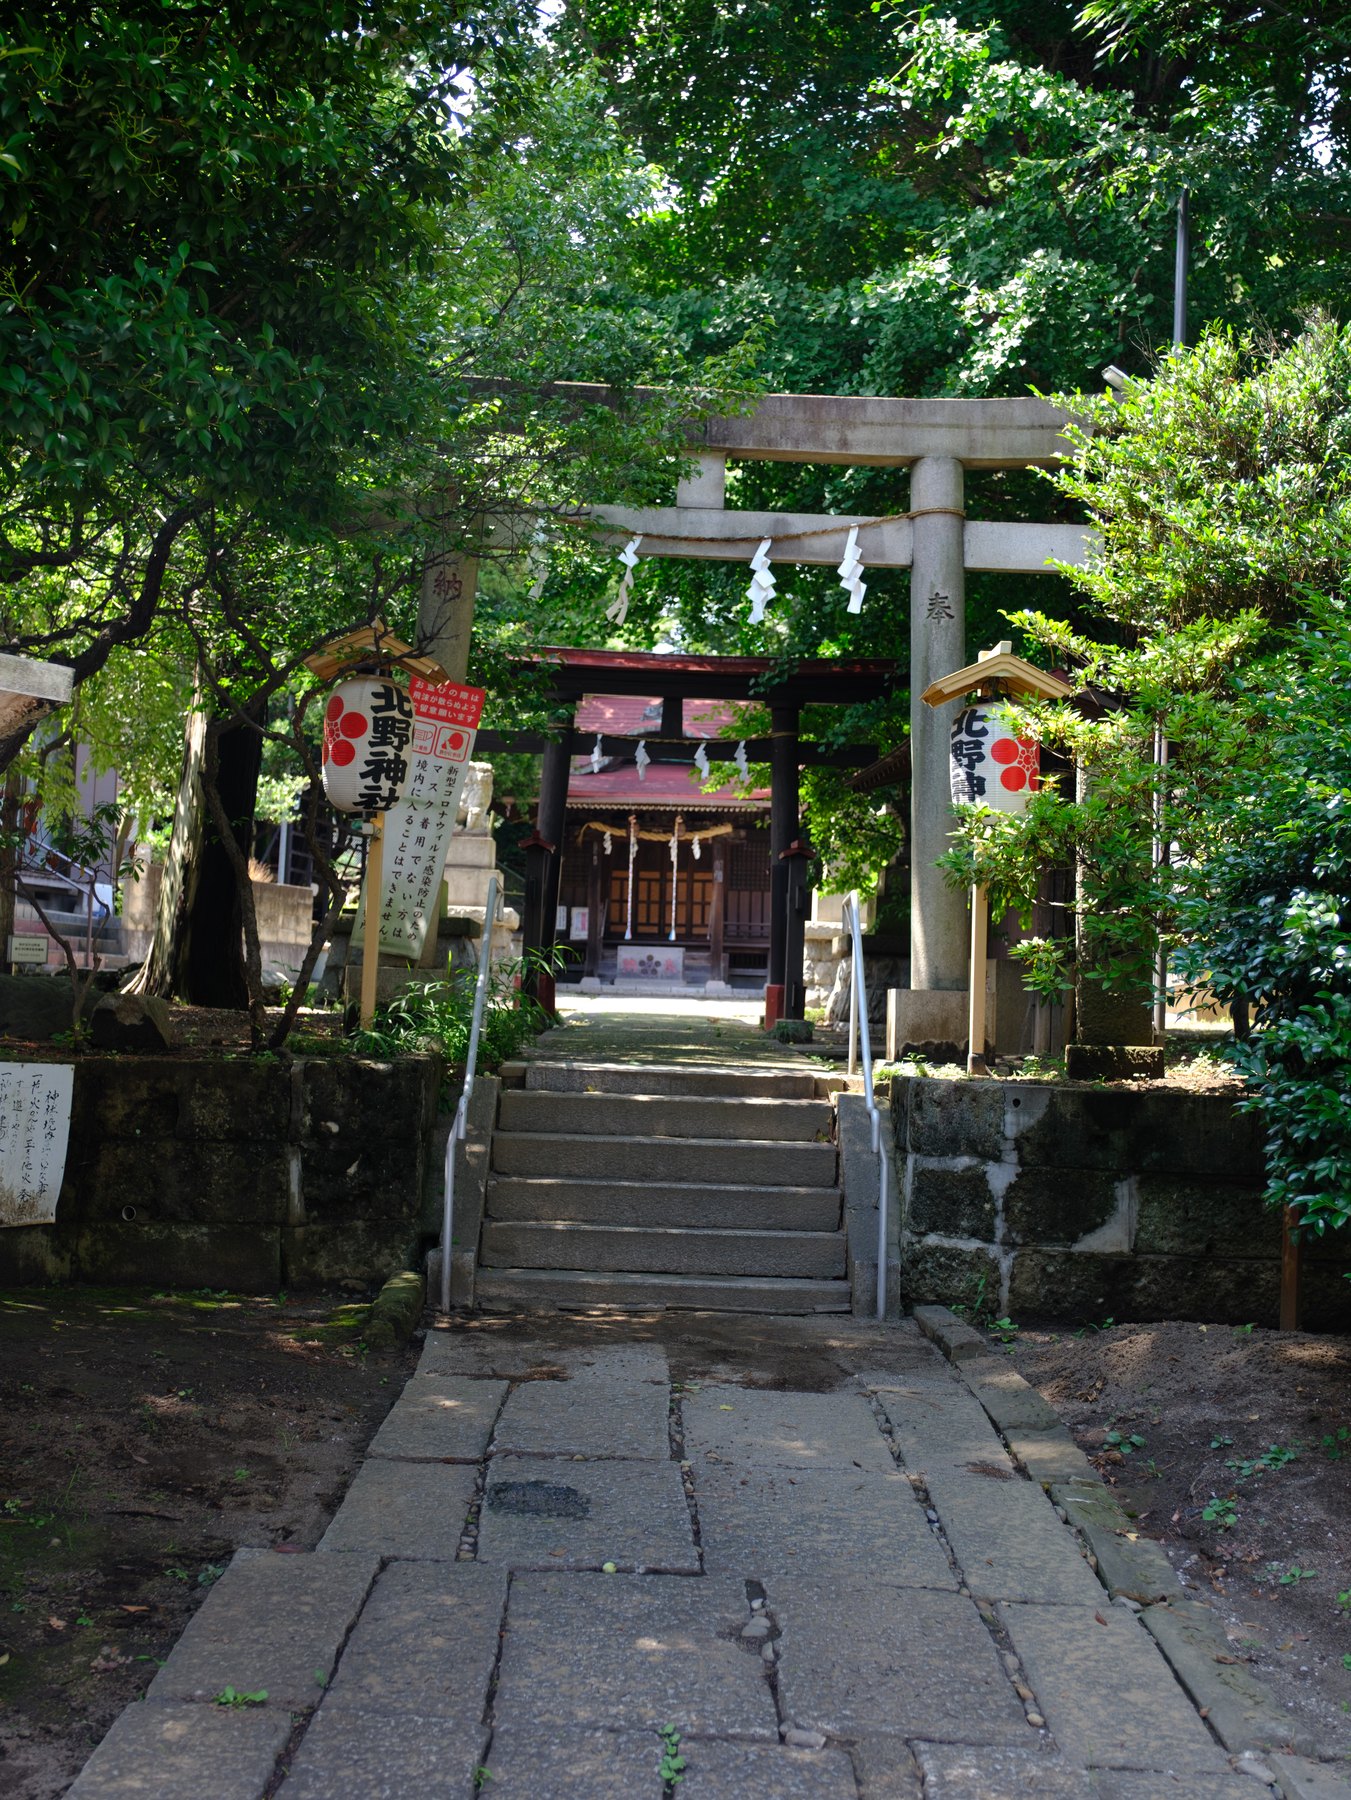
Fujifilm files already arrive with a strong point of view. A heavy preset can quickly push skin, greens, or mixed light too far. These three looks were built from Fujifilm X-H2 RAW files photographed across everyday Tokyo. Each establishes a color direction without changing Exposure, White Balance, or the camera profile.
Try Everyday Soft free No payment required · XMP preset + Tokyo shooting checklist
New to XMP presets? Read our free Fujifilm preset guide, then follow the Lightroom installation steps before comparing the three looks below.
Compare the three Fujifilm preset looks
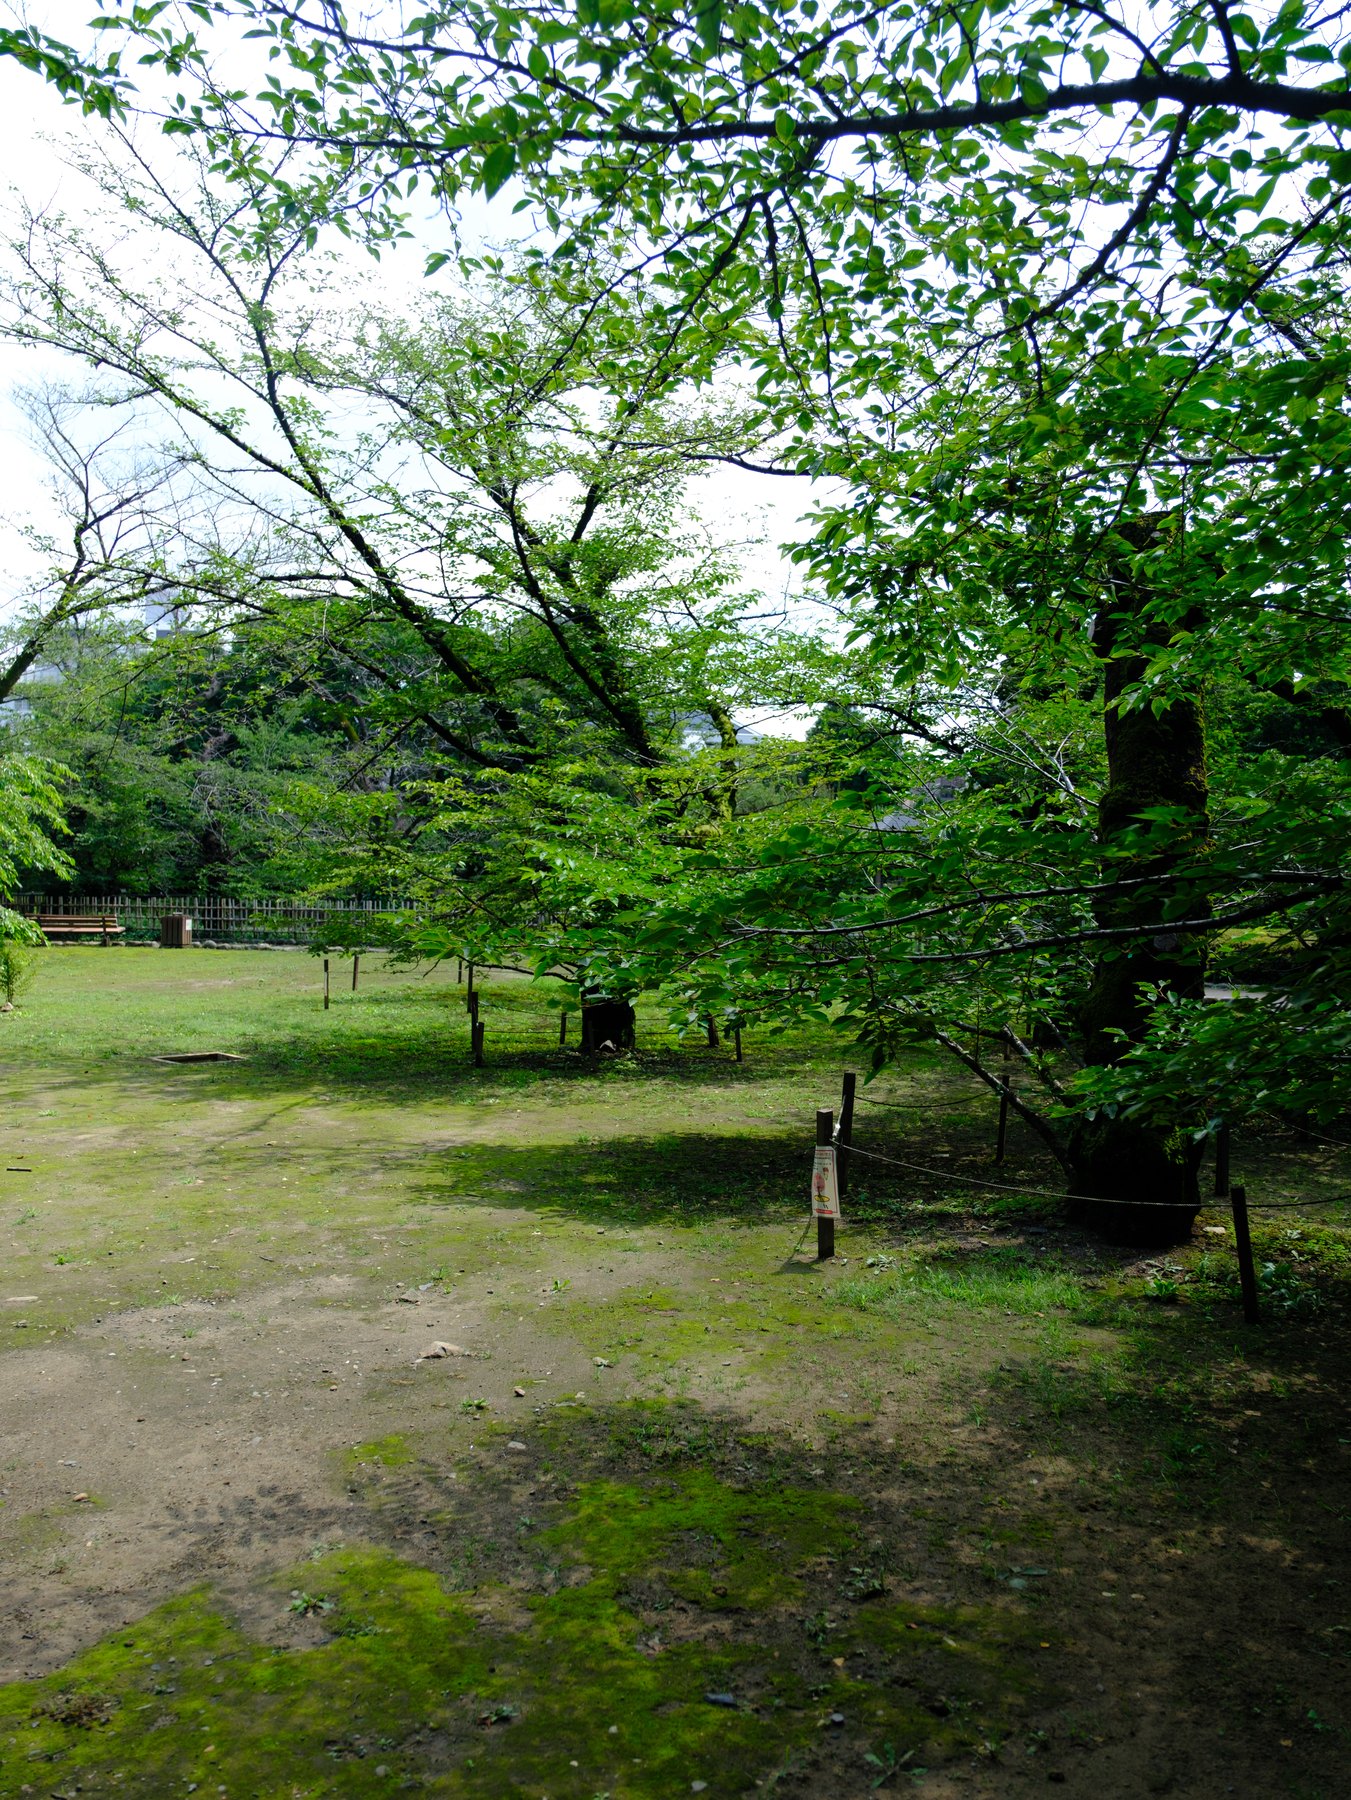
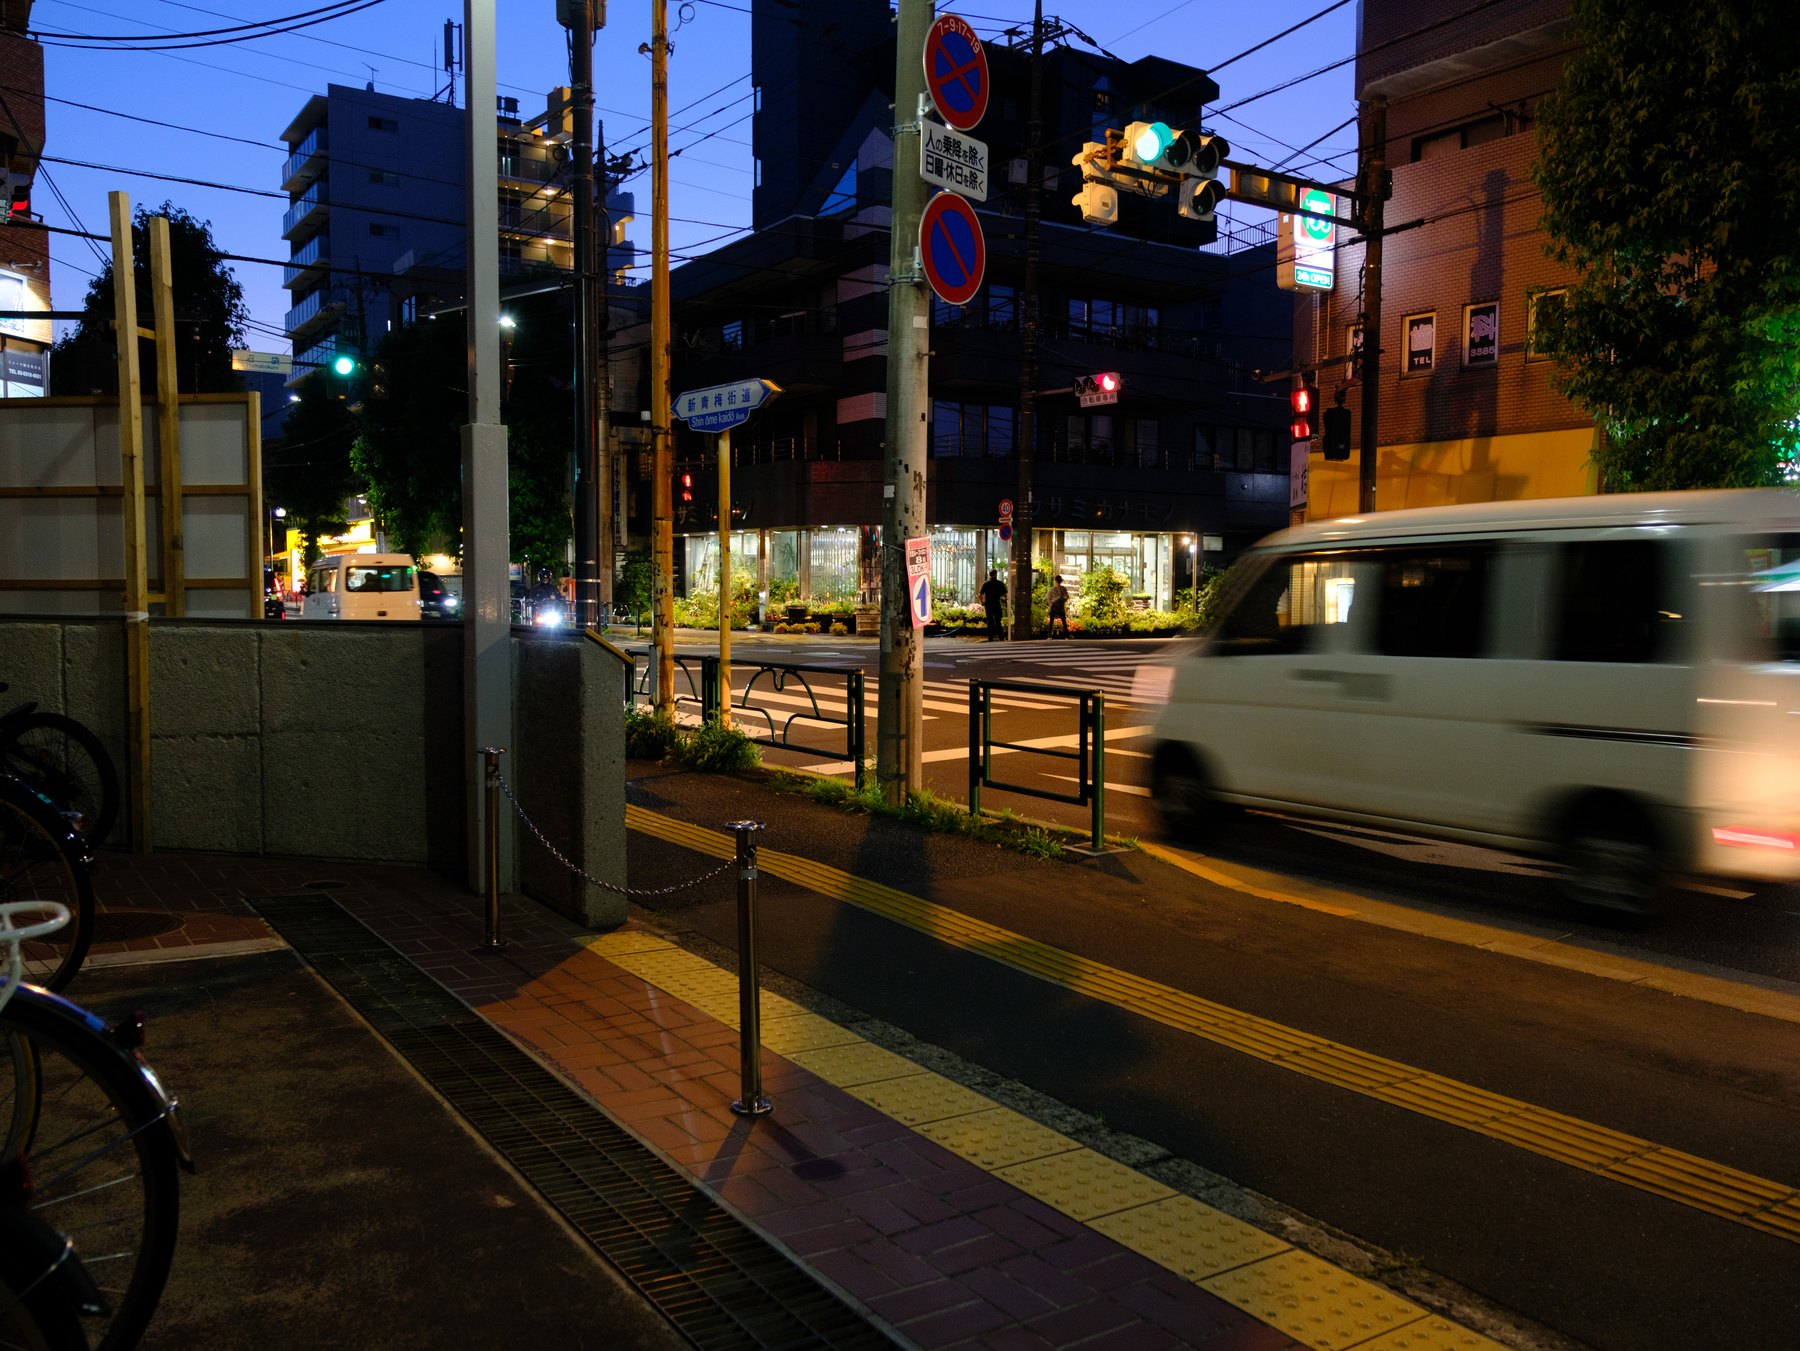
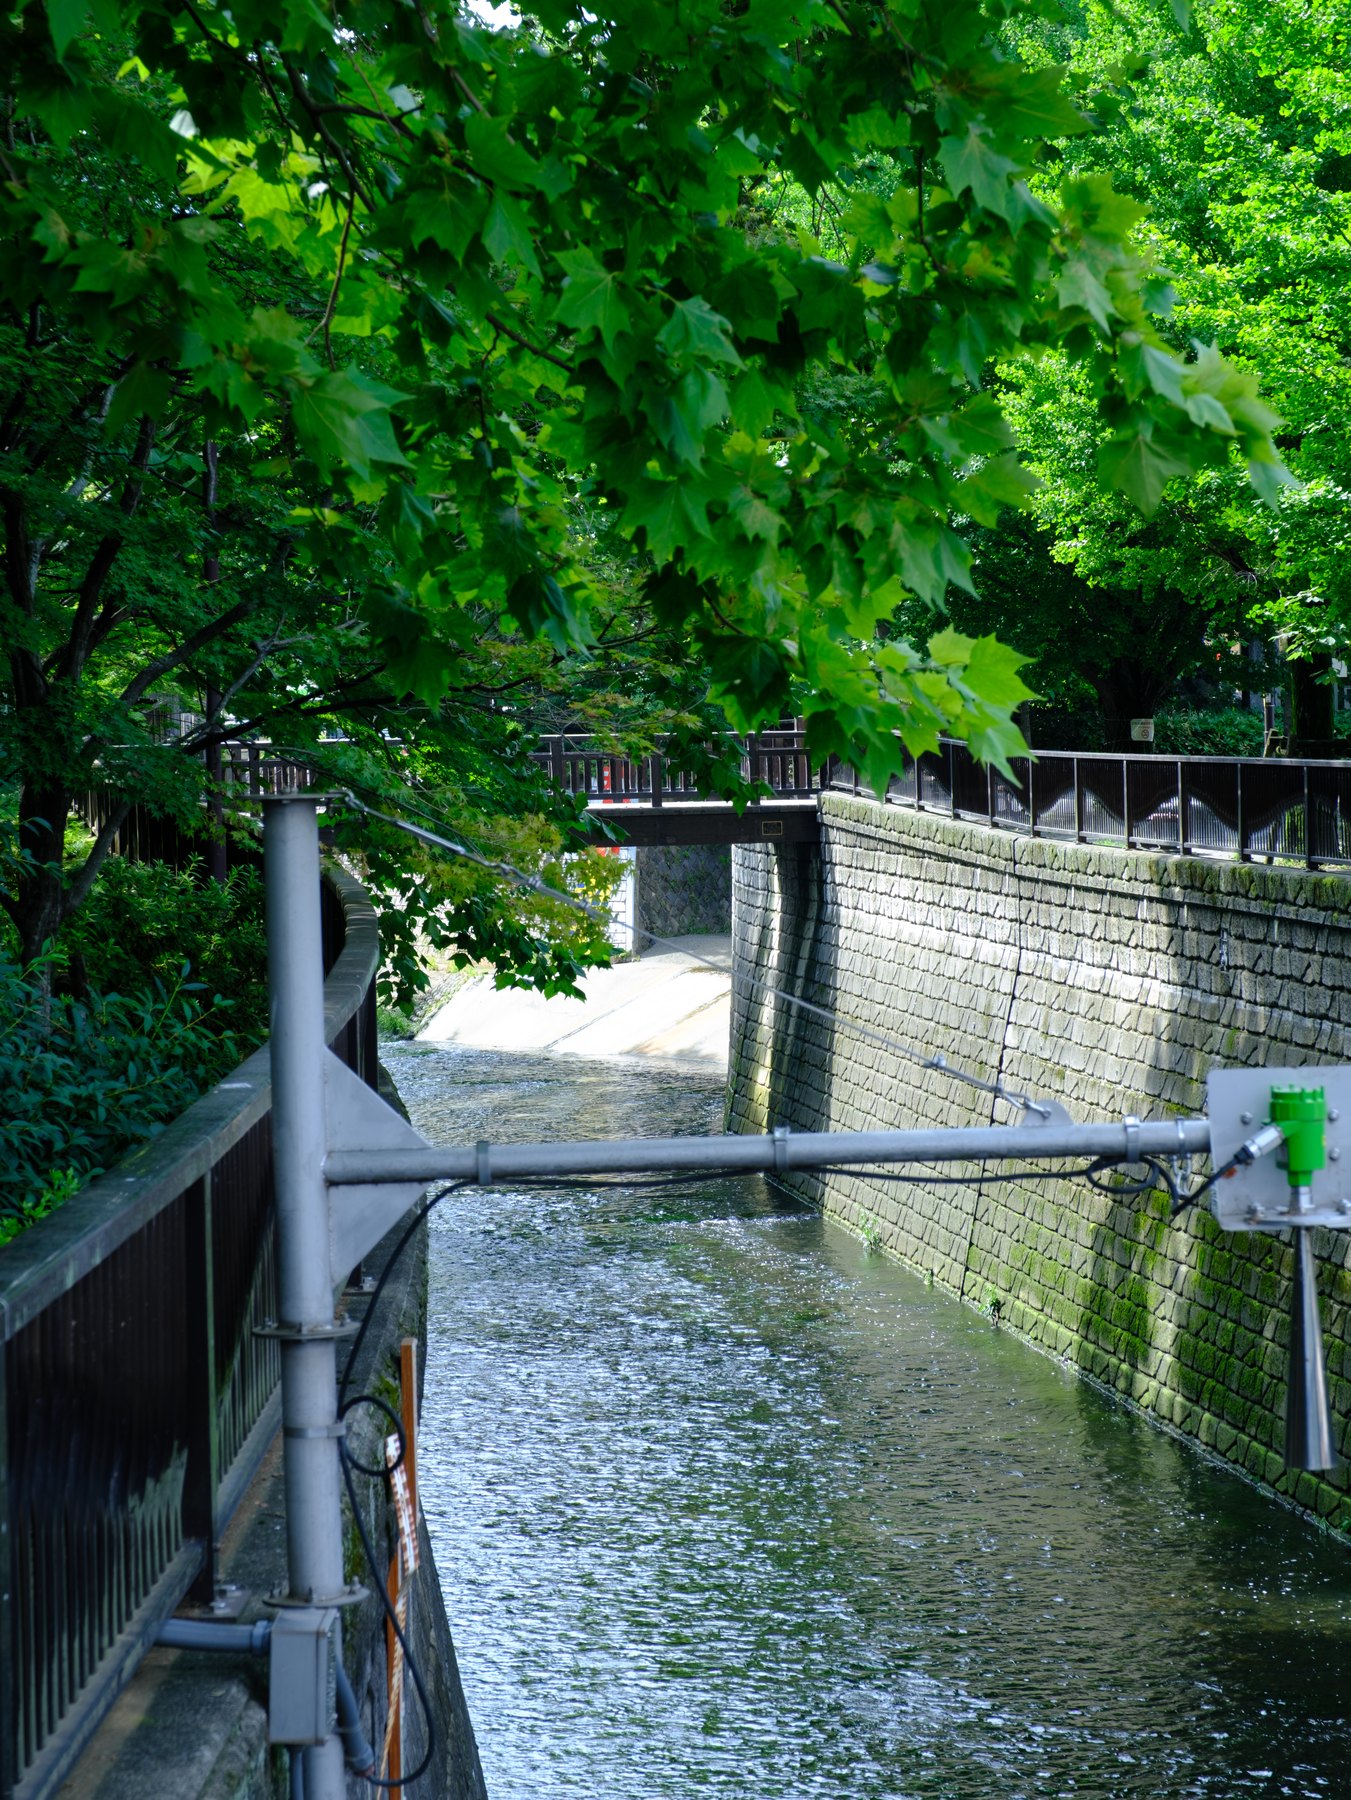
The names describe starting points, not rules. Choose by light and subject, then make the few photograph-specific adjustments below.
1. Choose the look for the scene
Start with the light and subject, not the preset name. A gentle daylight look suits people, food, interiors, and ordinary streets. A cooler-shadow, warm-light look belongs at blue hour and around storefronts. Muted greens and softer highlights fit overcast scenes and water.
Click through the options once. At this stage, judge the direction of the color—not the final brightness. For an edit beyond a preset, follow the Fujifilm film-look workflow.
2. Set exposure before chasing color
Adjust Exposure for the main subject. Use the histogram to notice clipping, but do not try to force every frame into the same shape. Evening photographs can remain dark. If lamps or signs clip, lower Highlights before making the entire image too dim.
A good preset leaves Exposure untouched because two photographs made seconds apart can require different corrections.
3. Correct white balance with familiar references
Move Temperature first, then use Tint only when the image still feels too green or magenta. Look for a face, gray pavement, a white wall, or another object whose color you understand. Small adjustments are usually enough.
Mixed light does not need to become perfectly neutral. The aim is believable skin and surfaces while preserving the atmosphere that made you take the photograph.
4. Make one image-specific finish
Finish with one local decision: lower highlights around a lamp, open shadows on a face, or add a subtle subject mask. Avoid rebuilding the preset with many global sliders. If every image needs the same large correction, diagnose why the preset looks wrong before choosing a different look.
A preset is a starting point, not a correction for every file
The best result is not the most dramatic before-and-after. It is an edit that feels coherent across a set while keeping the decisions that matter—exposure, white balance, skin, and local emphasis—specific to each photograph.
Photographing after dark? Continue with the field guide to Fujifilm night photography settings, including two practical Auto ISO setups for walking Tokyo.