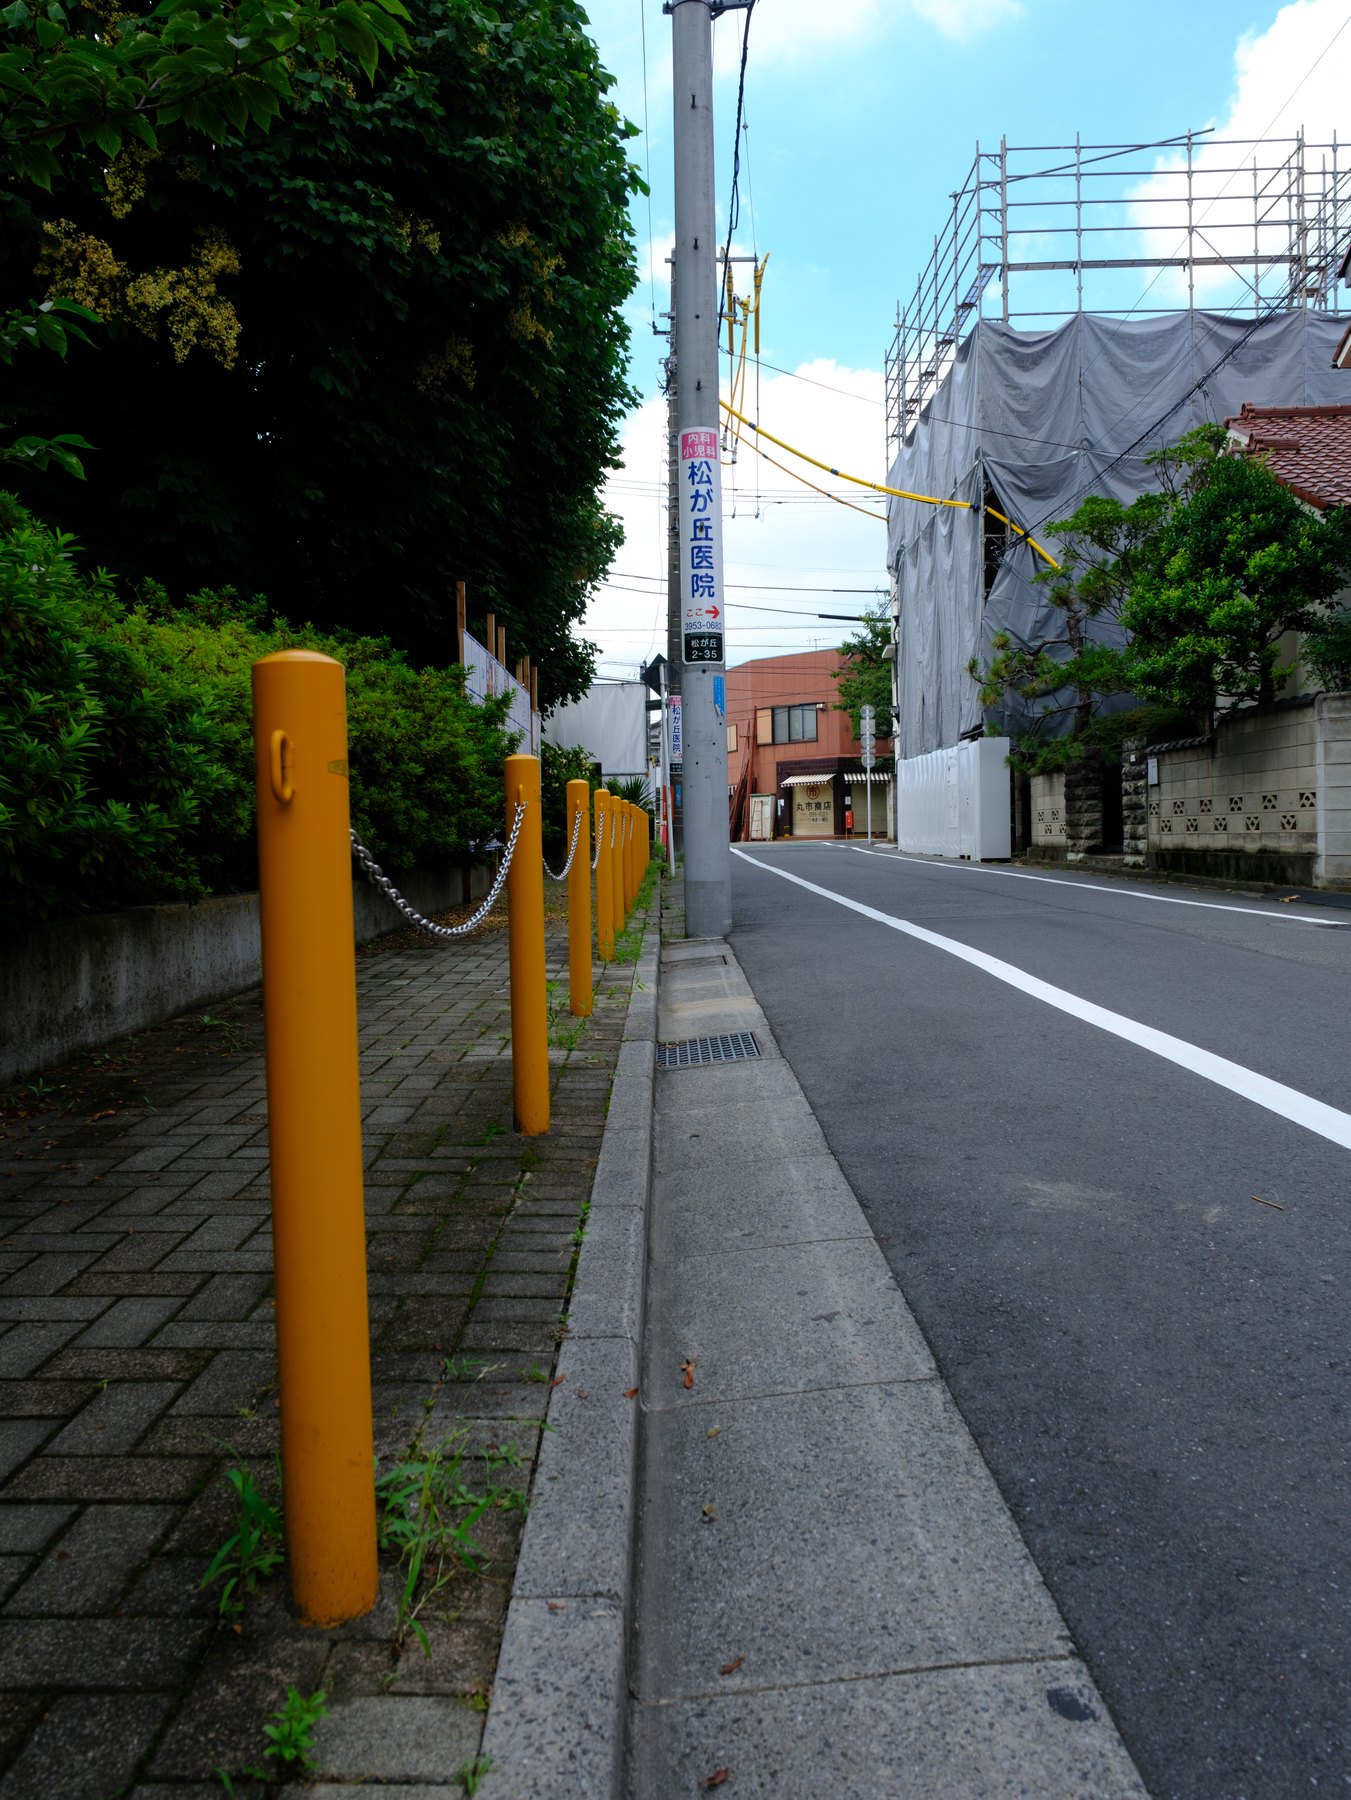
The most recognizable Tokyo photographs are often the loudest: giant crossings, neon signs, and compressed crowds. Those scenes exist, but the city also reveals itself through quieter changes in light, distance, weather, and routine. A useful street-photography plan should help you notice both.
Use a responsive starting setup
MODEAperture Priority
APERTUREf/2.8–f/5.6 by day
MIN SHUTTER1/250 people · 1/125 general
AUTO ISOBase–3200 by day · up to 6400 at night
FILERAW + JPEG
Aperture Priority works well while walking because buildings repeatedly move you between open sun and shade. Choose a minimum shutter speed for the subject, not only the focal length. Raise it for gestures, bicycles, and crossings; lower it deliberately when you want movement.
Plan for transitions instead of a checklist of landmarks
Morning side streets give soft directional light before businesses become busy. Late afternoon produces long reflections between buildings. Blue hour balances the sky with windows and signs for a short period. Overcast weather and rain reduce harsh contrast and bring color into pavement and foliage.
Choose one neighborhood and stay long enough to see the light change. A smaller radius usually produces a more coherent set than racing between famous spots.
Keep people in context
Use layers, reflections, and distance to show how a person belongs to the street. Avoid blocking narrow paths or turning a private moment into a confrontation. Be especially cautious around children, schools, medical settings, and anyone clearly asking not to be photographed.
Rules and venue policies vary, and public access does not make every use considerate. For commercial or promotional use of an identifiable person, obtain appropriate permission rather than relying on the circumstances of capture.
Let mixed light remain mixed
Tokyo streets combine daylight, fluorescent interiors, warm lamps, LED signs, and reflected color. Shoot RAW so white balance remains editable, but do not neutralize every source. Correct familiar surfaces and skin first, then preserve the warm–cool relationship that describes the place.
At night, expose for the subject and protect only the highlights whose color matters. A bright sign can clip while the person beneath it remains too dark; lowering the whole frame is not always the answer.
Edit the set, not only the strongest frame
Start with exposure and white balance on each photograph. Then apply a restrained common direction to contrast, greens, and warm light. Review several images together. Consistency comes from repeated decisions, not from forcing identical slider values onto different streets.
A simple one-evening route
Begin before sunset on ordinary residential or shopping streets. Photograph open shade and daily activity, stay through blue hour as windows become brighter than the sky, then finish after dark with one Auto ISO setup for people and another for still scenes. The route matters less than giving the light time to change.
For a detailed low-light setup, read the Fujifilm night photography settings guide. For editing, use the Lightroom color grading workflow.