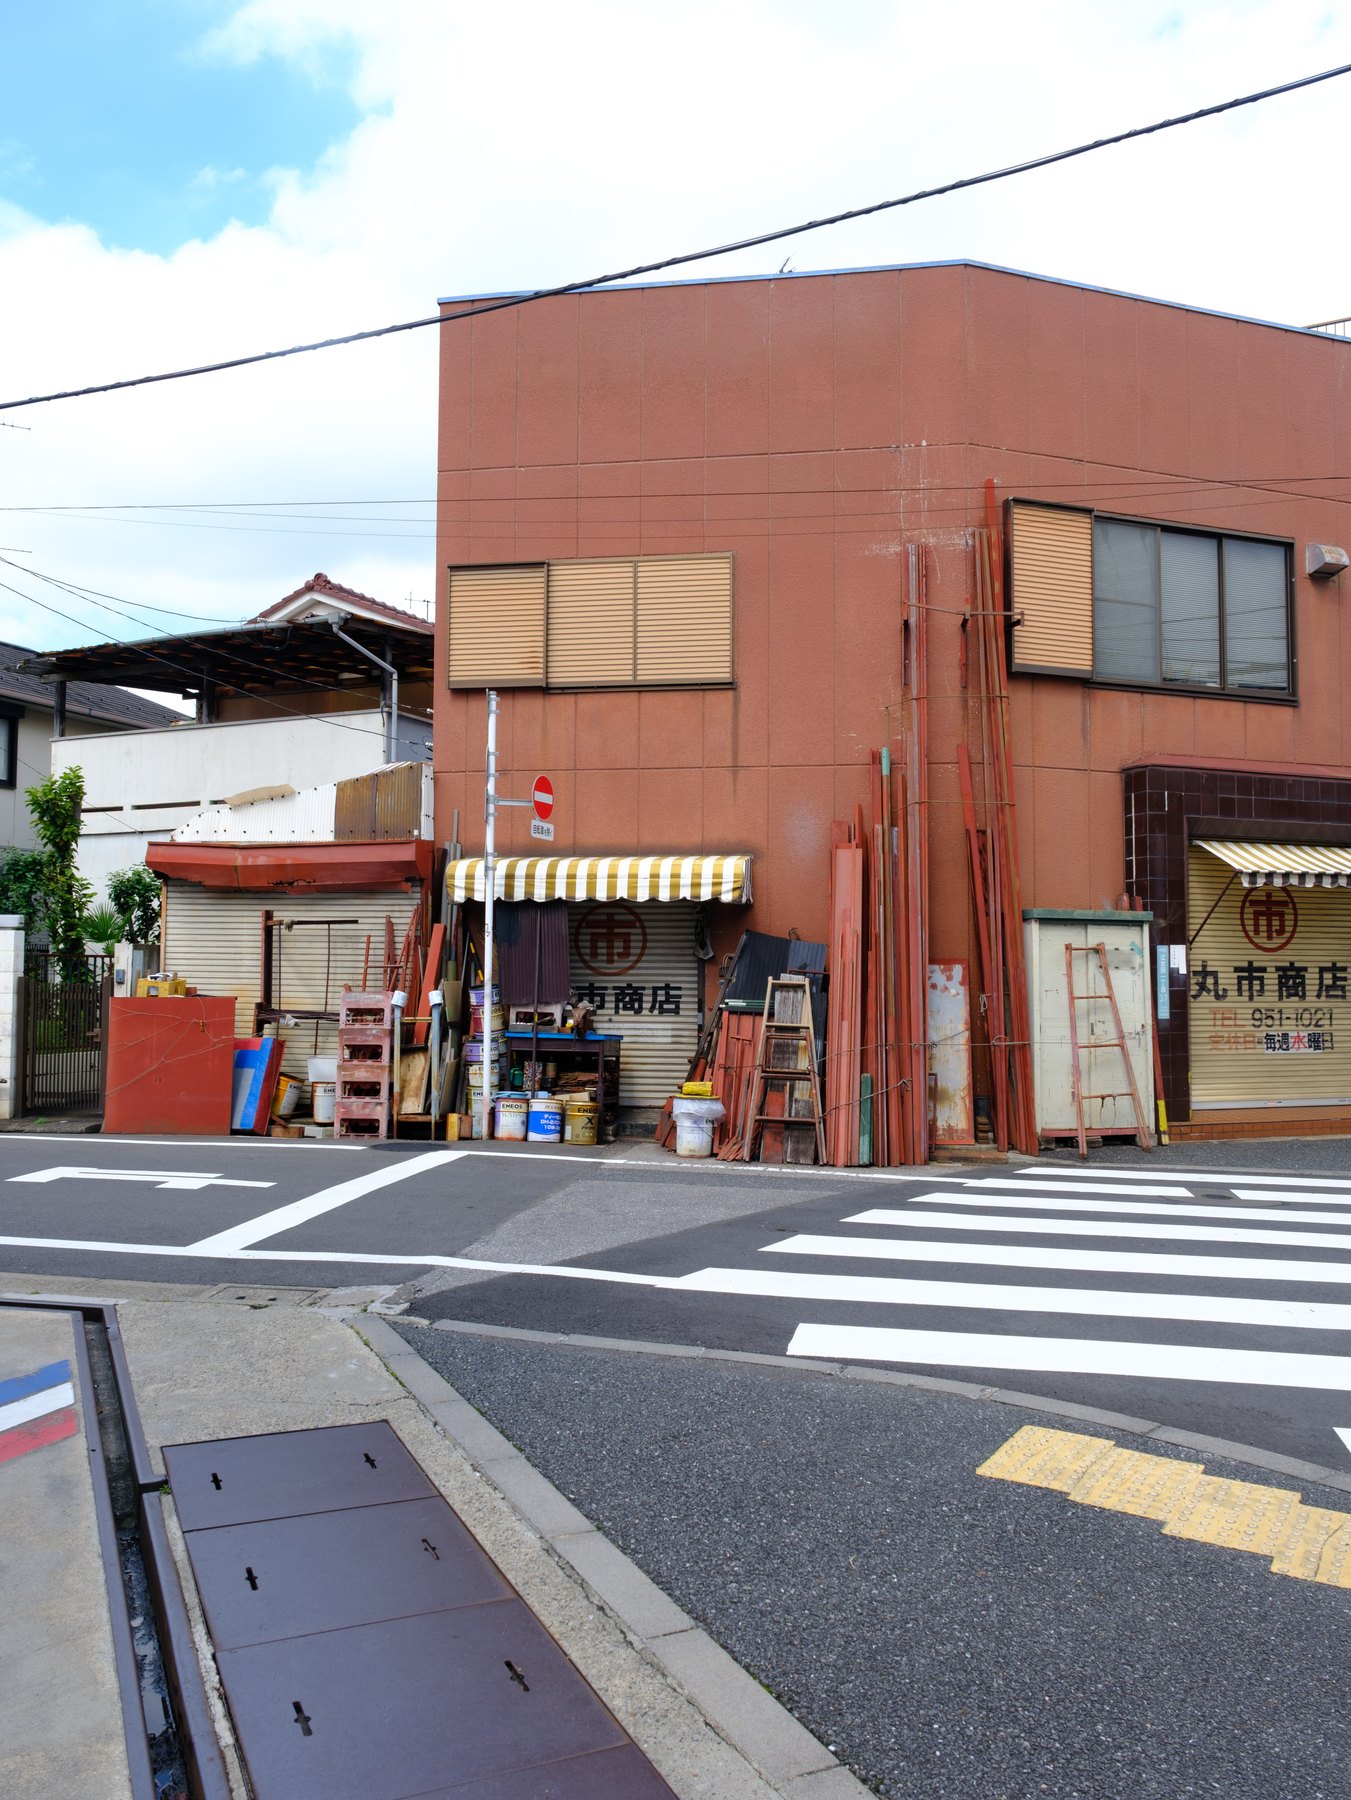
A travel folder can contain hard midday sun, open shade, warm restaurants, blue hour, rain, portraits, and bright signs—sometimes from more than one camera. One fixed treatment cannot correct all of those conditions for you.
A useful travel Lightroom preset carries a repeatable creative direction while leaving photograph-specific decisions editable. Use it to connect a set, then correct each frame for its actual light.
Choose a preset by behavior, not destination labels
Names such as tropical, city, or cinematic describe marketing categories, not how a preset handles your files. Look instead for evidence across skin, foliage, daylight, interiors, and mixed light.
Before buying a large bundle, test one complete preset on ten representative photographs. Include an easy frame, a person, a green scene, a warm interior, a night image, and a file from every camera you used.
Check what the preset changes
In Lightroom, inspect Profile, Exposure, White Balance, Tone Curve, HSL, Color Grading, Detail, Optics, and Masks after applying the preset. A creative travel look usually works more predictably when it does not force a single exposure or white balance onto every photograph.
Profile changes deserve special attention because Sony, Canon, Nikon, Lumix, and Fujifilm files begin from different renderings. An XMP preset can be applied across supported RAW and JPEG files, but identical settings do not guarantee identical color.
Correct the file before judging the look
Set exposure for the subject, recover only the highlights that matter, and correct white balance using a familiar surface or believable skin. Then judge the preset direction. Many apparent preset failures are starting-point differences.
For mixed light, do not neutralize the whole scene automatically. Keep the useful relationship between warm lamps and cool ambient light, then use a local mask when a face or key subject needs separate correction.
Build a small travel system
Three distinct looks are usually more useful than fifty near-duplicates: a restrained daylight base, a warmer evening direction, and a lower-key option for rain or night. Keep the names functional so you can choose quickly while editing.
Apply the look in groups by lighting condition, then review the trip in grid view. Adjust individual exposure and white balance, and remove any frame whose saturation or contrast breaks the sequence. Cohesion is a relationship across photographs, not identical slider values.
Test before committing to a full edit
Export a small proof set at the size where you will share it. Check skin, skies, dark clothing, signs, and grain at normal viewing size. If the same correction repeats, save that correction as a separate utility preset rather than hiding it inside every creative look.
Tokyo Grain’s Everyday Soft preset is a free XMP starting point developed and directly tested on Fujifilm X-H2 RAW files. It can be applied to supported files from other camera brands; test it on your own photographs because profile and lighting differences remain.