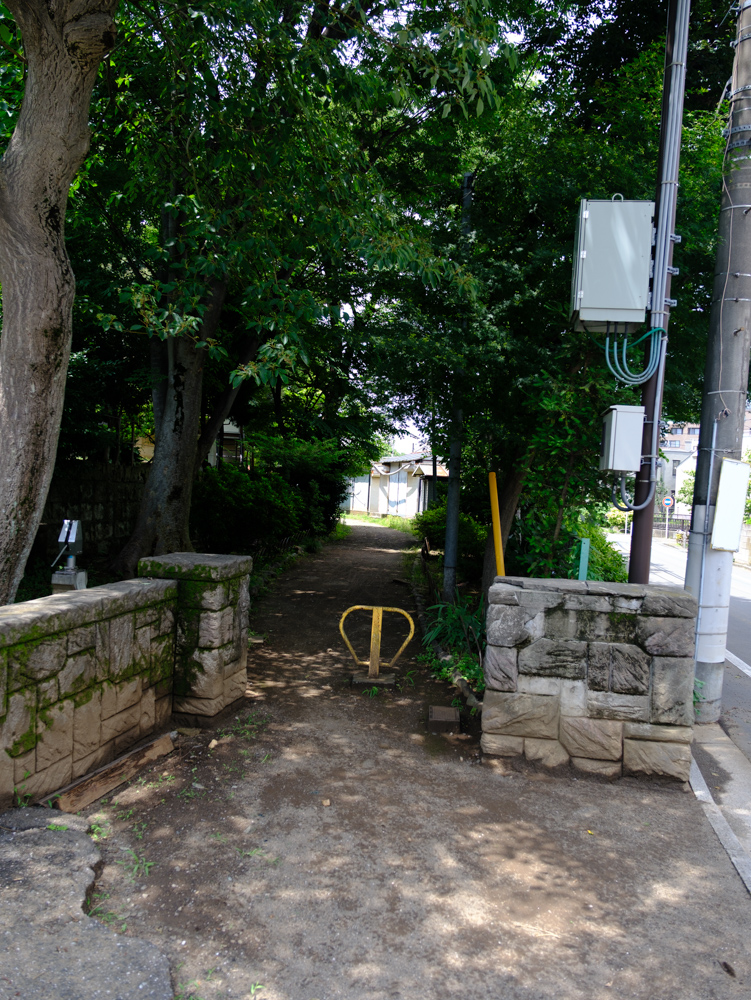
Asphalt, stone, tile, and wet pavement are easy to overprocess. A small amount of local contrast can make real material legible; too much global Texture, Clarity, or sharpening turns every pebble into a competing highlight.
The photograph shown here is a shaded paved path between low stone walls beneath dense trees. It illustrates existing surface detail in its setting, not a Lightroom sharpening comparison or the result of a new edit.
First read the light boundary
Before editing, ask whether the subject is the surface itself or the boundary between light and shade. Set Exposure for the area that matters, then adjust Whites and Blacks to establish the tonal range you want. If the important tonal separation disappears after lifting shadows, the texture loses its organizing shape.
Choose the raw profile before fine detail work. Compare the overall pattern at Fit view. A frame that works only at 100% has probably lost its larger composition.
Separate real texture from digital roughness
At 100%, inspect a bright patch and a dark patch. Bright stone can have crisp edges while shadow areas contain noise. Applying global sharpening until every shaded surface looks as crisp as a lit edge can make image noise more visible.
Use restrained sharpening for genuine edges. If a small region needs attention, make a local correction rather than applying the same clarity to the entire surface. Do not claim that an Enhance operation invented lost camera focus.
Use the four Detail controls for different decisions
In Lightroom Classic, Amount sets sharpening strength; Radius sets the scale of detail it affects; Detail changes how much fine, high-frequency information is emphasized; Masking restricts sharpening toward stronger edges. They are not four interchangeable ways to make a pavement photograph sharper.
Start with one representative edge at 100%. Keep Radius restrained for fine surface detail, then judge Amount without bright outlines. If small flecks in the shadows become more prominent than the material itself, reduce Detail and inspect Masking. On Windows hold Alt while moving a Detail slider to preview its effect; use Option on macOS. Compare a lit patch, a shaded patch, and a clean boundary before deciding. These are inspection steps, not tested slider values for the photograph shown.
Do not confuse Texture, Clarity, and sharpening
Texture emphasizes or softens textured detail. Clarity changes local contrast, while sharpening works on edge definition. If the overall light pattern already reads clearly, increasing all three is unlikely to be a useful starting point.
When only one patch needs attention, make a brush mask over that material and inspect its overlay. Adjust local Texture or Sharpness there instead of making the entire frame equally harsh. Toggle the mask off and on, then return to Fit view. Keep whichever version makes the material easier to read without making the mask boundary visible. No local correction or before/after comparison is claimed for this illustration.
Preserve the shadow as a shape
A shadow is not a problem to erase. If its edge is the main visual event, resist opening every dark pixel. Lift only enough to reveal meaningful material, and check that the transition remains believable.
If the frame belongs to a street series, match the overall contrast with neighboring photographs, not the exact black level of every paving stone. The same preset may need a different exposure adjustment in direct sun and deep shade.
Check at the delivery size
Export a web-sized JPEG and compare with the Lightroom view. Downsampling can change how small stones and added grain appear. If the surface becomes brittle or noisy, ease back Detail or local contrast before adding more grain.
Keep a note of the actual light and material for the caption. Avoid describing a paved path as wet or treating a creative crop as evidence of a weather condition.
Sources and further reading
References for the context and techniques discussed in this field note.